Sunday, 18 May 2014

24 volt system configuration updated june 2014

The lights in the kitchen and bathroom lights and water pump are all powered by the original 24v system. When I bought the boat the weather was far from ideal and the engine room door was held open, I immediately had my suspicions, I asked a few people on the marina, heating engineer and a couple of other people who work on the boats, the only explanation given was air flow, I was not convinced and closed the door.

When  a friend who happens to be an electrician took a look around the boat and how the electrics were configured he noticed that there was a charger plugged into the battery bank permanently switched on, effectively powering the batteries, I know from a VW Golf I owned that was over charging the battery and the funny smell I kept getting in the car was hydrogen gas, the door to the engine room was permanently open because the previous owner a church organ repairer, a shady profession believe it or not, had the door open to expel any gases, I immediately turned the charger of, however the system pumps the water from the sink and bath in the bathroom, which currently resembles a scene from Silence of the Lambs, something has to be done there are four batteries in the battery compartment connected and four new batteries with female threaded terminals by the door apparently recently bought but not installed.

Looked for threaded terminals to no avail, bought four from Ebay but the threads were too big.

After a bit of investigating and youtube I have decided to see if I can revive the old batteries.

bit blurred but not alot of light


Looks a right old mess


After a while and remembering what I have read there are two 24v systems on a trawler and a starter system, a 24v system to run the lights and pumps and another for electronics. I have also located the starter batteries two 12v 415a batteries wired in series without the negative terminals attached.


Only one thing to do take pictures draw configuration clean up the batteries and all terminals check the levels and try and recharge individually.

the bolts were slightly rusty on the first two but with a bit of determination and patience they loosened.

Just a thought the first two batteries seem to be running the lights etc and a visibly corroded and a bit battered, the second batteries seem less damaged, I am going to charge all the batteries, I have seen on youtube that batteries can be rejuvenated a few ways one being adding a little epsom salt (magnesium) to the distilled water, batteries filled with distilled water and epsom salts and on charge, and maybe put the back Erf batteries at the front and vice versa, we will see.


Don't look that old I think it is a clear case of neglect but I feel confident and I have a few options, so hopefully we can get the water pumped out of the bathroom and renew the joists.

Quick update, the batteries are definitely taking charge, starting to make a crackling noise when I take one of the caps of.

Going to install a solar charging system with a sulphate repair and regulator for future maintenance.

24v System is 100% up and running, bought a sulphate repair and regulator from ebay for future maintenance, £50, alot cheaper than a new battery, the first owner installed a pressurised system, after changing a fuse a pump turned on, after following a few cables back I have found the pump, the water is switched of so I have taken the fuse out until I know what is what.


Saturday, 17 May 2014

Extraction and airflow idea

There is always going o be an element of moisture with a wooden boat, you can put in all the damp proofing you want but the moisture needs to escape, we are going to create a 12v/24v air flow system in the bilges using fans in the kitchens and extractors in the bathroom connected to the bilge pumps to create airflow via the main beams and vents there will be extraction in the kitchen attached to the old flu above where the new grill will be.

This is going to be very apparent in the bathroom, have decided on a rubber flooring for the walls in white will go perfectly with the polished concrete floor and water condensation and moisture will naturally run down to the floor to the macerator pump and out.


The norm....


We are going to use a more industrial version surface water guttering.


There is going to have to also be extraction in the floors creating airflow and helping to pull the moisture down onto the newton lave and back to the bilge, well that is the theory so far.

Kitchen update and Electrics

After careful consideration and re running the existing wire loom for the kitchen we can use the existing cable and just add junction boxes and sockets where desired the existing double sockets have married up with where we have decided, one for the d/washer and washing machine and a double socket above for an iron and a hoover, three double sockets above the work surface two singles to the side of the herb and spice rack and two doubles coming up through the floor in metal conduit and attached to the table for laptops and phone chargers and a double socket above the fridge.

Two singles to the right of cabinet


two doubles in threaded metal conduit.


The kitchen has been double battened to allow for the 35mm double socket boxes, we have found that double battening from the beams has created more of a curve and leveled out the imperfections which made bending the 9mm ply yesterday like something out of the krypton factor so lesson learnt double batten on a curve, makes life easier in the long run.


When we took out the first dividing wall we were concerened about how weight bearing the wall was structurally, we checked triple checked and checked again, no problem, however we have the cast iron radiators back to bear metal the boat has an industrial feel so with the introduction of the metal conduit we have decided to put a vertical steel to compensate for any weight shift and to finish the end of the tongue and groove dividing wall.

Looks good feels like it should be there. I think that is the best thing to do with a wooden boat follow your instincts and don't be scared to ask for advice you will be surprised where the best information comes from, talk...


Steel


Friday, 16 May 2014

New Hallway and Bathroom/ wet room

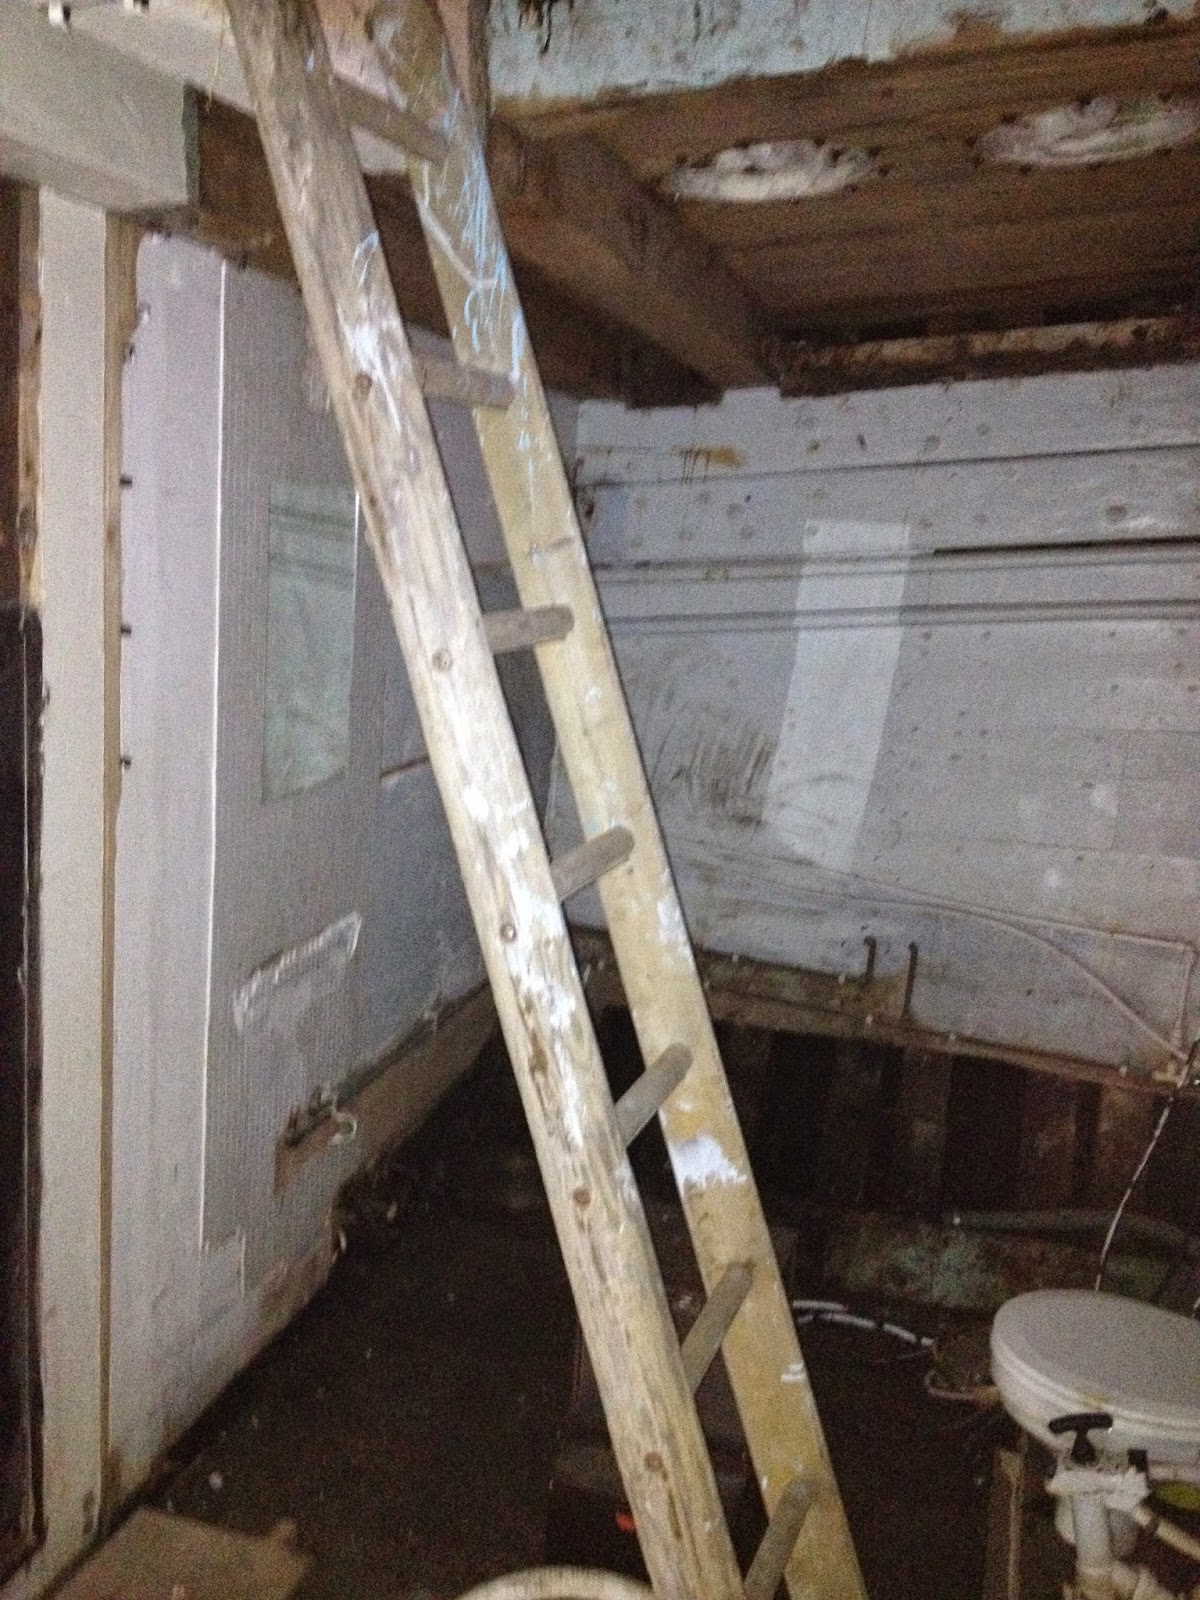
After taking the final pieces of the inner skin in the hallway we discovered that the joists holding up the hallway stairs and bathroom are showing signs of wet rot, the knock on effects from one of my first posts regarding rain run of, the hallway is directly under the run of for the back deck and will need to be replaced, ther is a partition wall to the bathroom which can easily be removed the toilet and bath will have to come out.

Personally I prefer a shower to a bath, a perfect opportunity to change, the bathroom is probably one of the better rooms hence never getting a mention until now, I was quite happy to leave it as is but now we are changing the floor I am thinking of a polished concrete wet room shower.

Where we are at the moment, nothing like starting from the bottom up....


After rip out.


 Bathroom idea, quite doable and not as expensive as it may sound, make a box with an upstand put in plumbing, pour in concrete, I am sure there will be someone who will tell me it can't be done, mind you Roland is in tomorrow, see what he has to say.


Similar shower fittings


Fitting first skin Table and Benches

The damp proof membrane is on, time to start fitting the new inner skin, we have decided on using roofers treat battening and 9 mm ply, thought about bendy ply but they didn't have it available at the builders merchants so 9 mm it was.


Now time to bring the table down and see if how it fits and to clear the front room abit.


Getting there.......


Finally


All woodwork by Messenger Bespoke Joinery and Furniture Makers.